Surgical technique
The arthroscopic technique, step by step.
Condensed from the manufacturer’s surgical technique guide, with the published technique papers where they describe the same step. The instructions for use supplied with each pack take precedence.
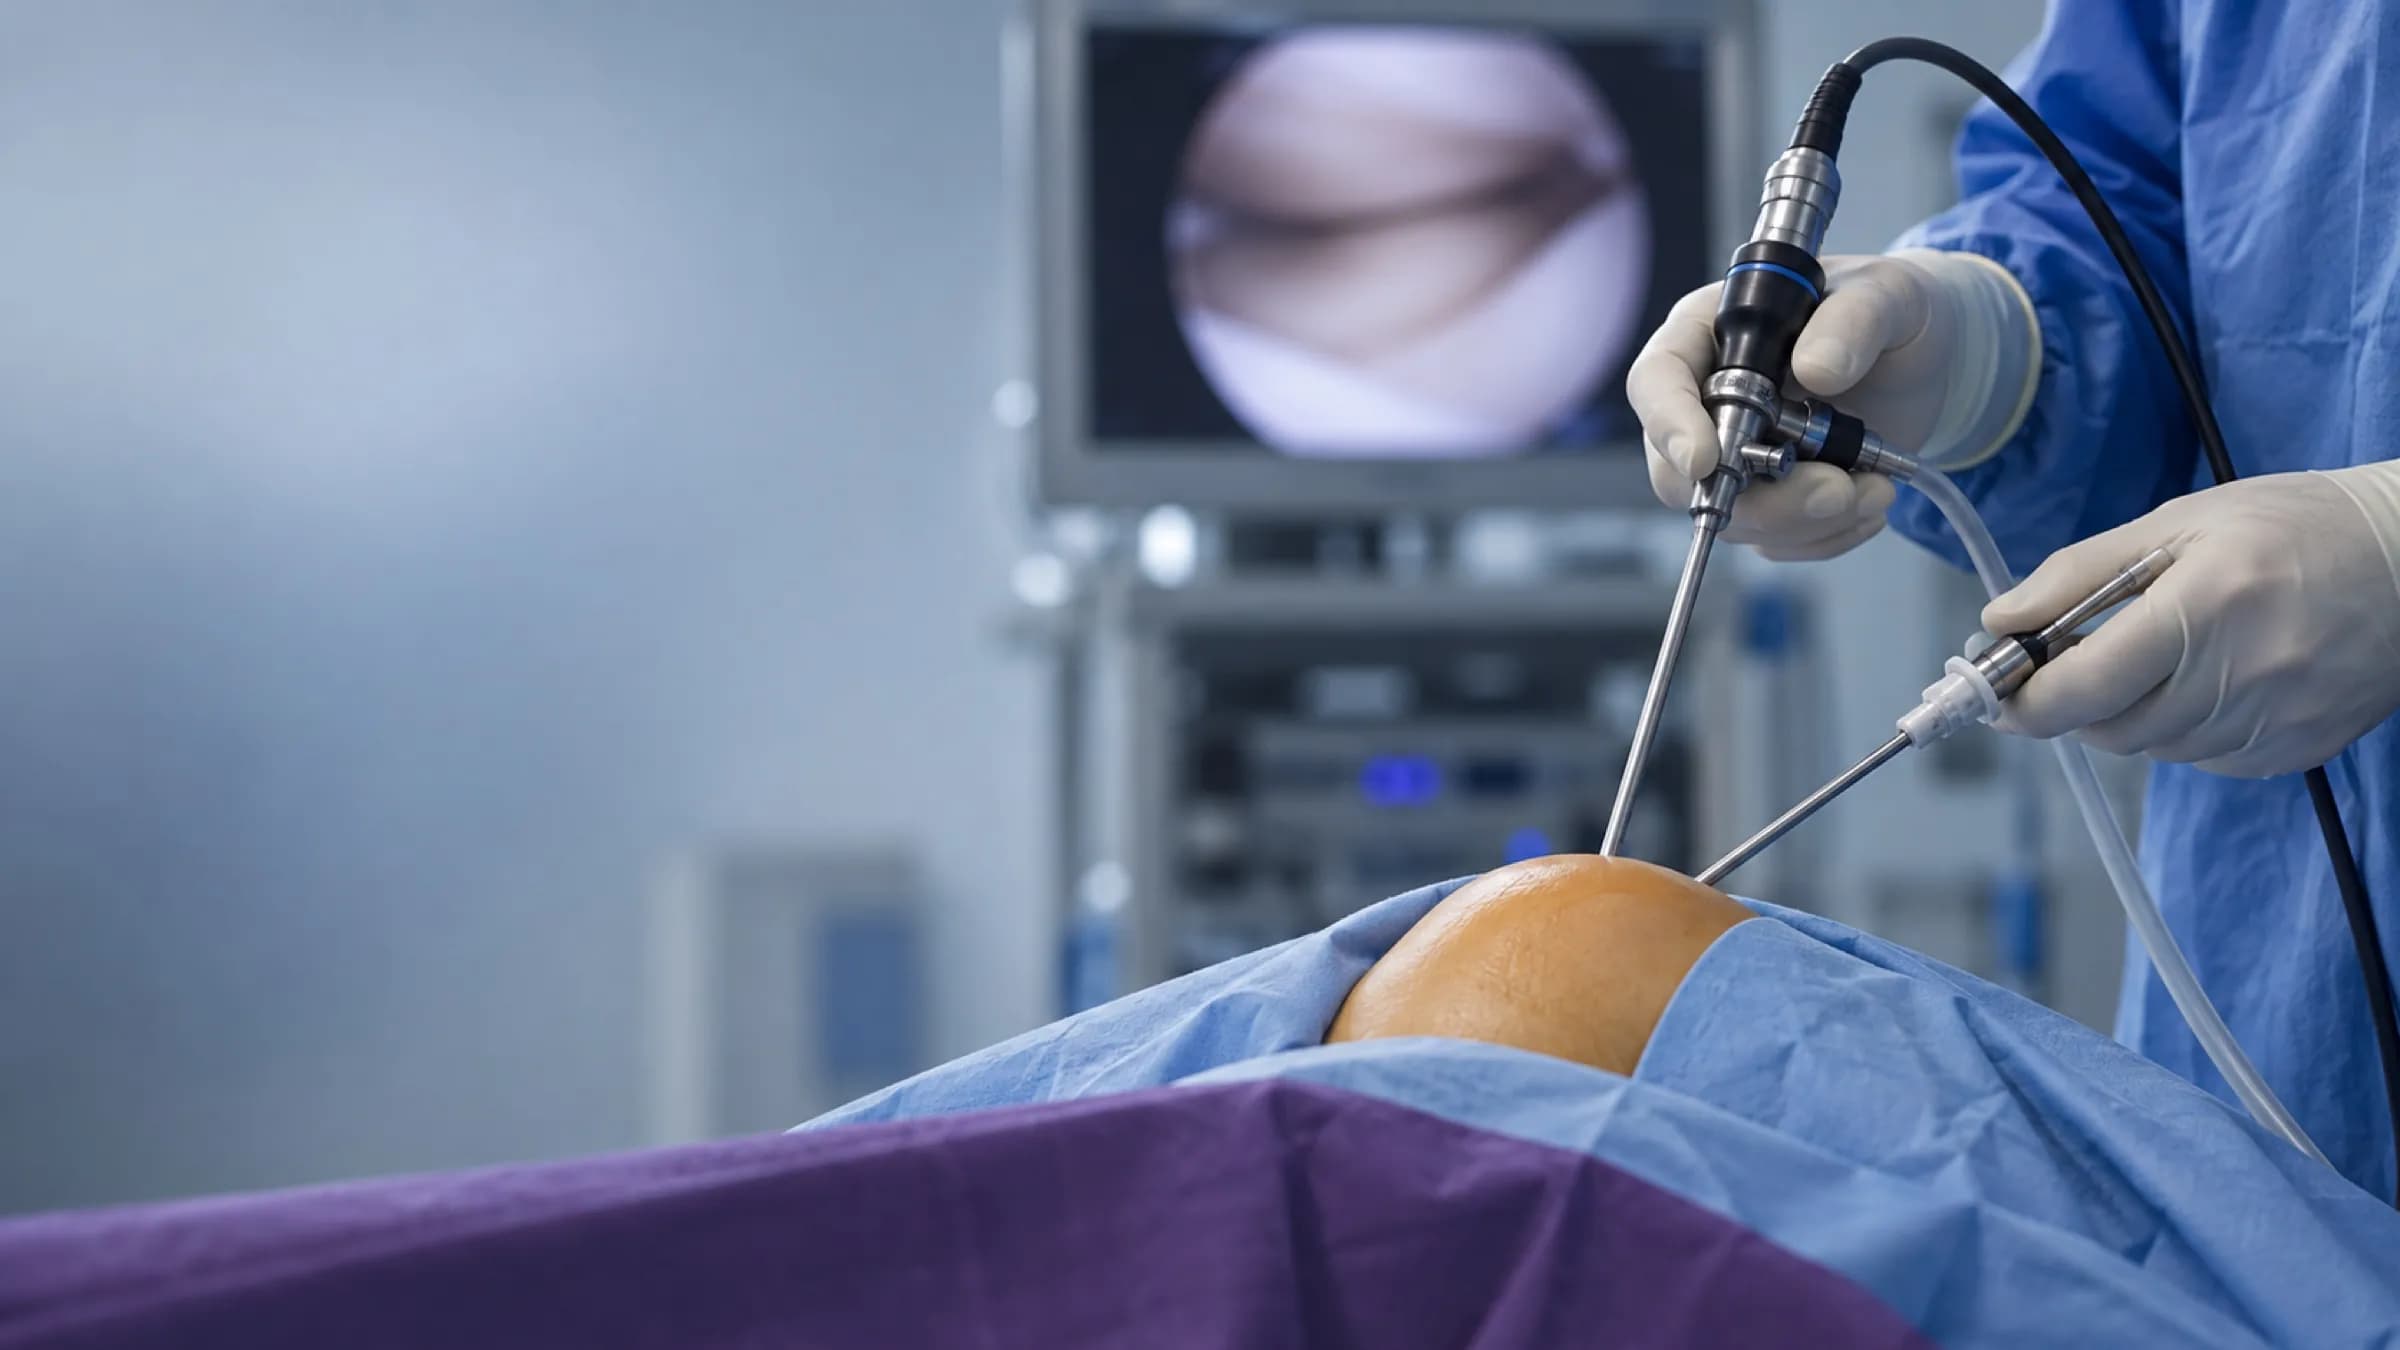
The IFU governs
Step by step
From confirming the indication to closing the portals.
Nine steps, in the order the technique guide presents them. Each carries its source.
Step 01
Confirm the indication at arthroscopy
The indication and the contraindications are checked again at the start of the arthroscopy, before the implant is thawed.1
- Accompanying joint pathology such as meniscal damage, ligament insufficiency or malalignment of the leg axis can be treated first in the same session.
- The defect should have a preserved cartilage shoulder on all sides and an intact corresponding joint surface (damage up to Outerbridge grade II on the opposing surface is permitted).
Step 02
Position the limb for the defect
The limb is positioned so that the liquid matrix cannot drain sideways out of the defect before it sets.1
- For femoral condyle defects, fixing the leg at 90° hip and knee flexion is usually enough; trochlear and tibial defects usually need no special positioning.
- Retropatellar defects can be treated prone, or, with experience, in the standard position with the matrix applied against gravity.
Step 03
Fluid or CO2 arthroscopy
The procedure can be carried out under standard irrigation-fluid arthroscopy or under CO2 gas arthroscopy.1,2
- With CO2 the defect is dry and more accessible, which the manufacturer notes helps matrix adhesion; with fluid arthroscopy the joint must be fully drained and the defect dried separately before application.
- A published hip technique describes a needle-and-curette approach to preparing the acetabular defect.
Step 04
Debride to a stable shoulder
All diseased cartilage is removed with a sharp spoon or curettes, leaving a stable cartilage shoulder on every side.1
- The subchondral plate must not be damaged. Slightly undermining the cartilage margins with a small sharp spoon helps anchor the implant in the defect.
- The debrided defect is measured for documentation. The syringe is prepared in parallel with the debridement.
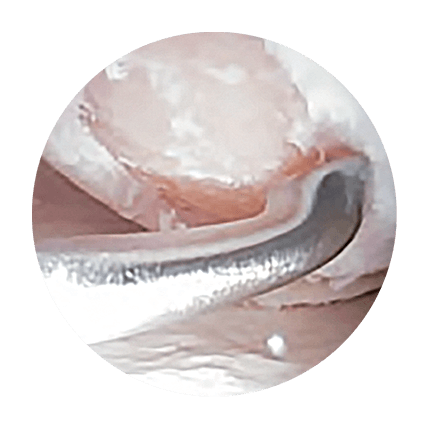
Debrided defect with a stable cartilage shoulder, arthroscopic view Step 05
Dry the defect
Before application the defect area should be as dry as possible; suction alone is usually not enough.1
- The guide describes a cannula placed directly in front of the defect with an extended compress fed through it by forceps, so the compress wicks the residual fluid away.
- Under CO2 arthroscopy no additional drying is usually needed.
Step 06
Thaw, warm and fit the adapter
The dual-chamber syringe is thawed, then warmed to its processing temperature immediately before use.1,3
- Thaw within 24 hours at 2 to 10 °C (a refrigerator), or in about 30 minutes at 25 to 30 °C (an incubator).
- Immediately before application warm the syringe to 30 to 33 °C, for example in the hand, for less than 15 minutes. Longer than 15 minutes at 30 to 33 °C, or any temperature above 33 °C, damages the collagen irreversibly and the matrix will not stabilise.
- The Luer-lock mixing adapter fits in one orientation only (nose to nose, with a click). After fitting the injection cannula, the first few microlitres are discarded.
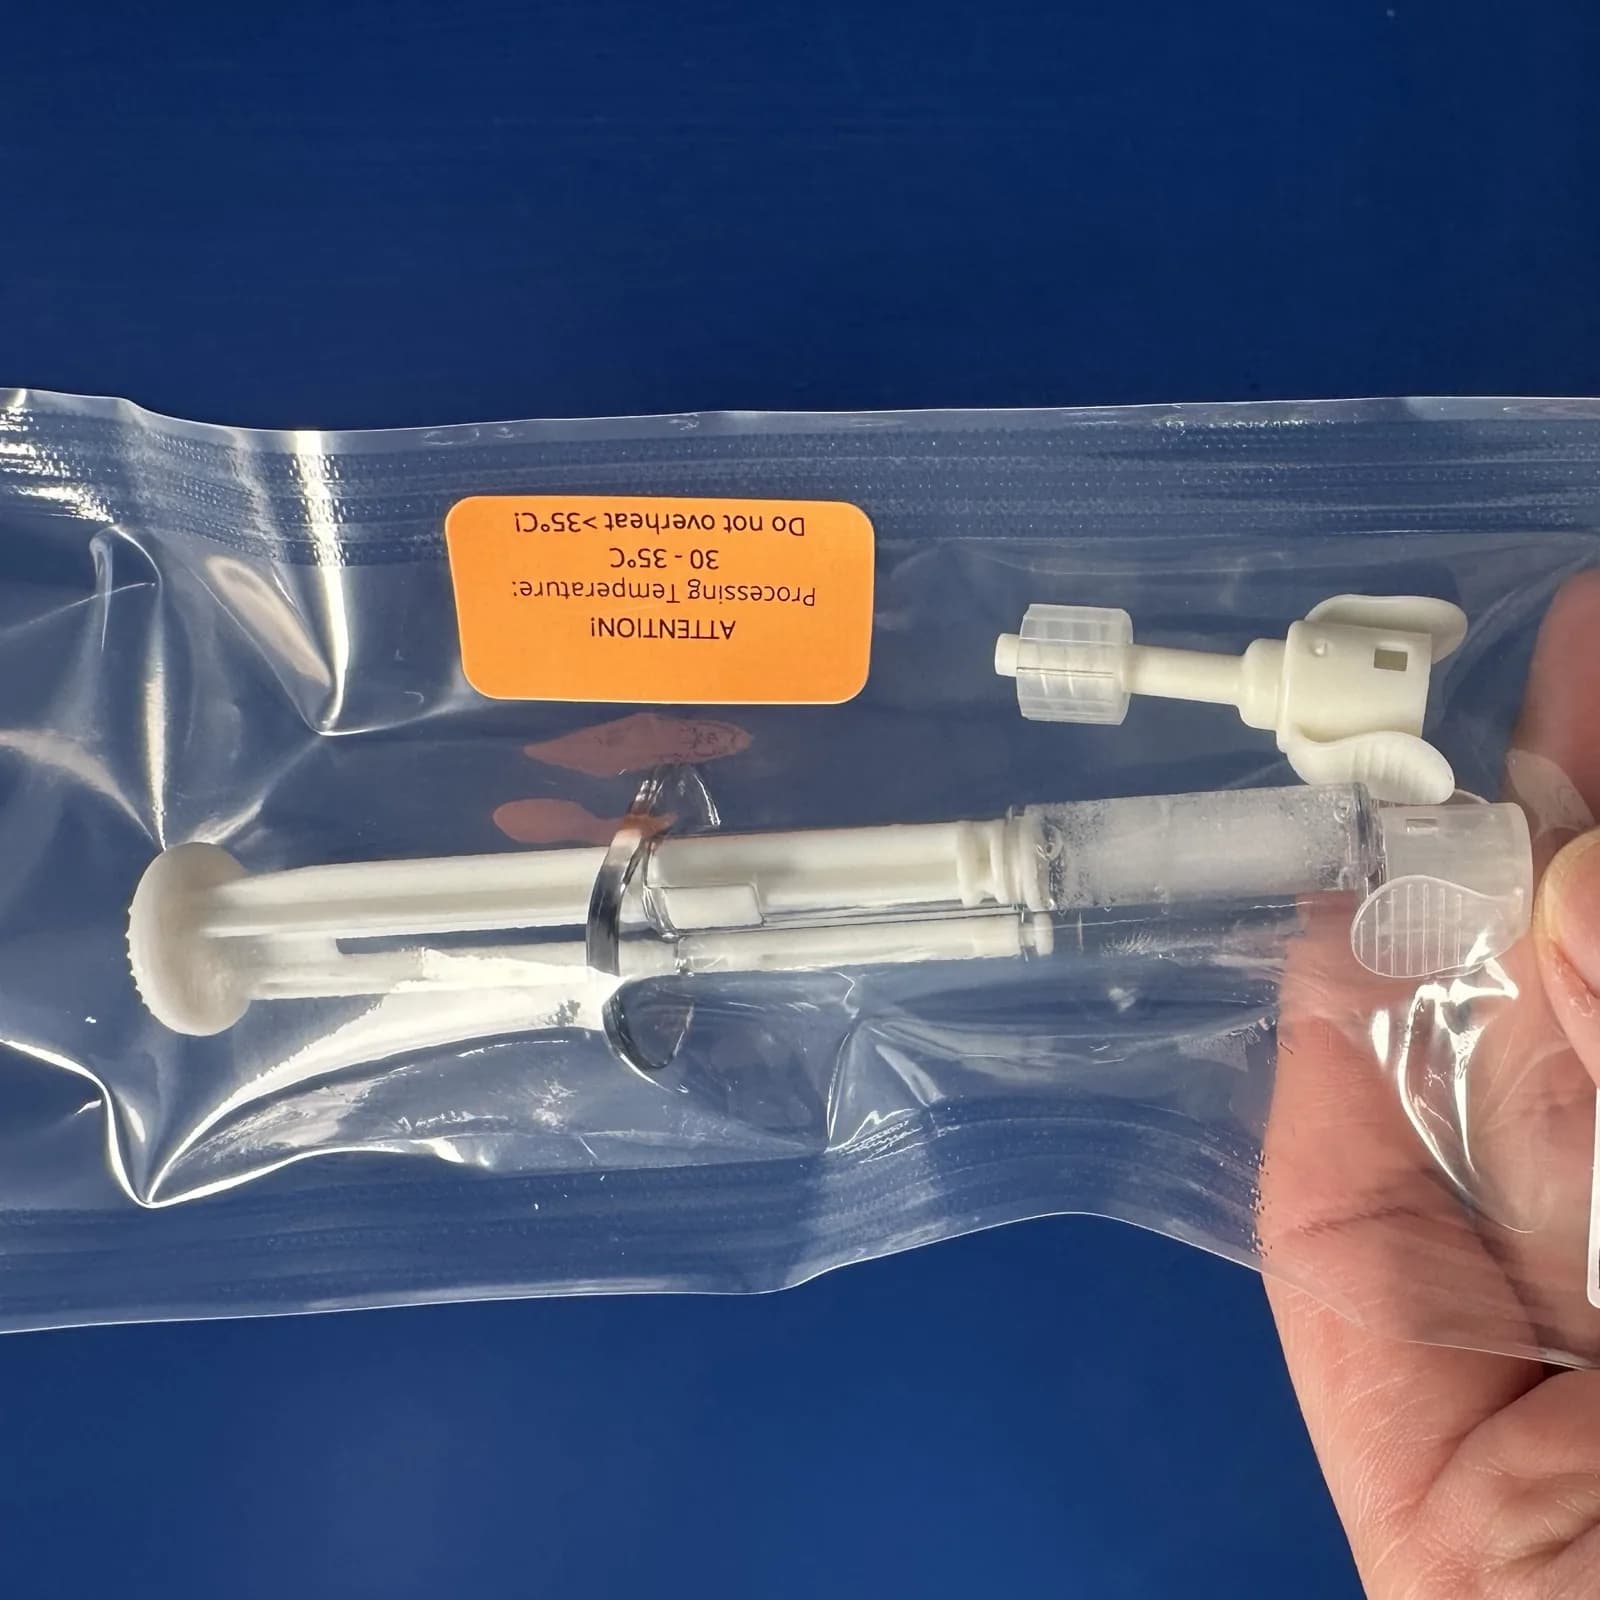
Syringe and mixing adapter as supplied in the sterile blister, illustrative Step 07
Fill in one continuous pass
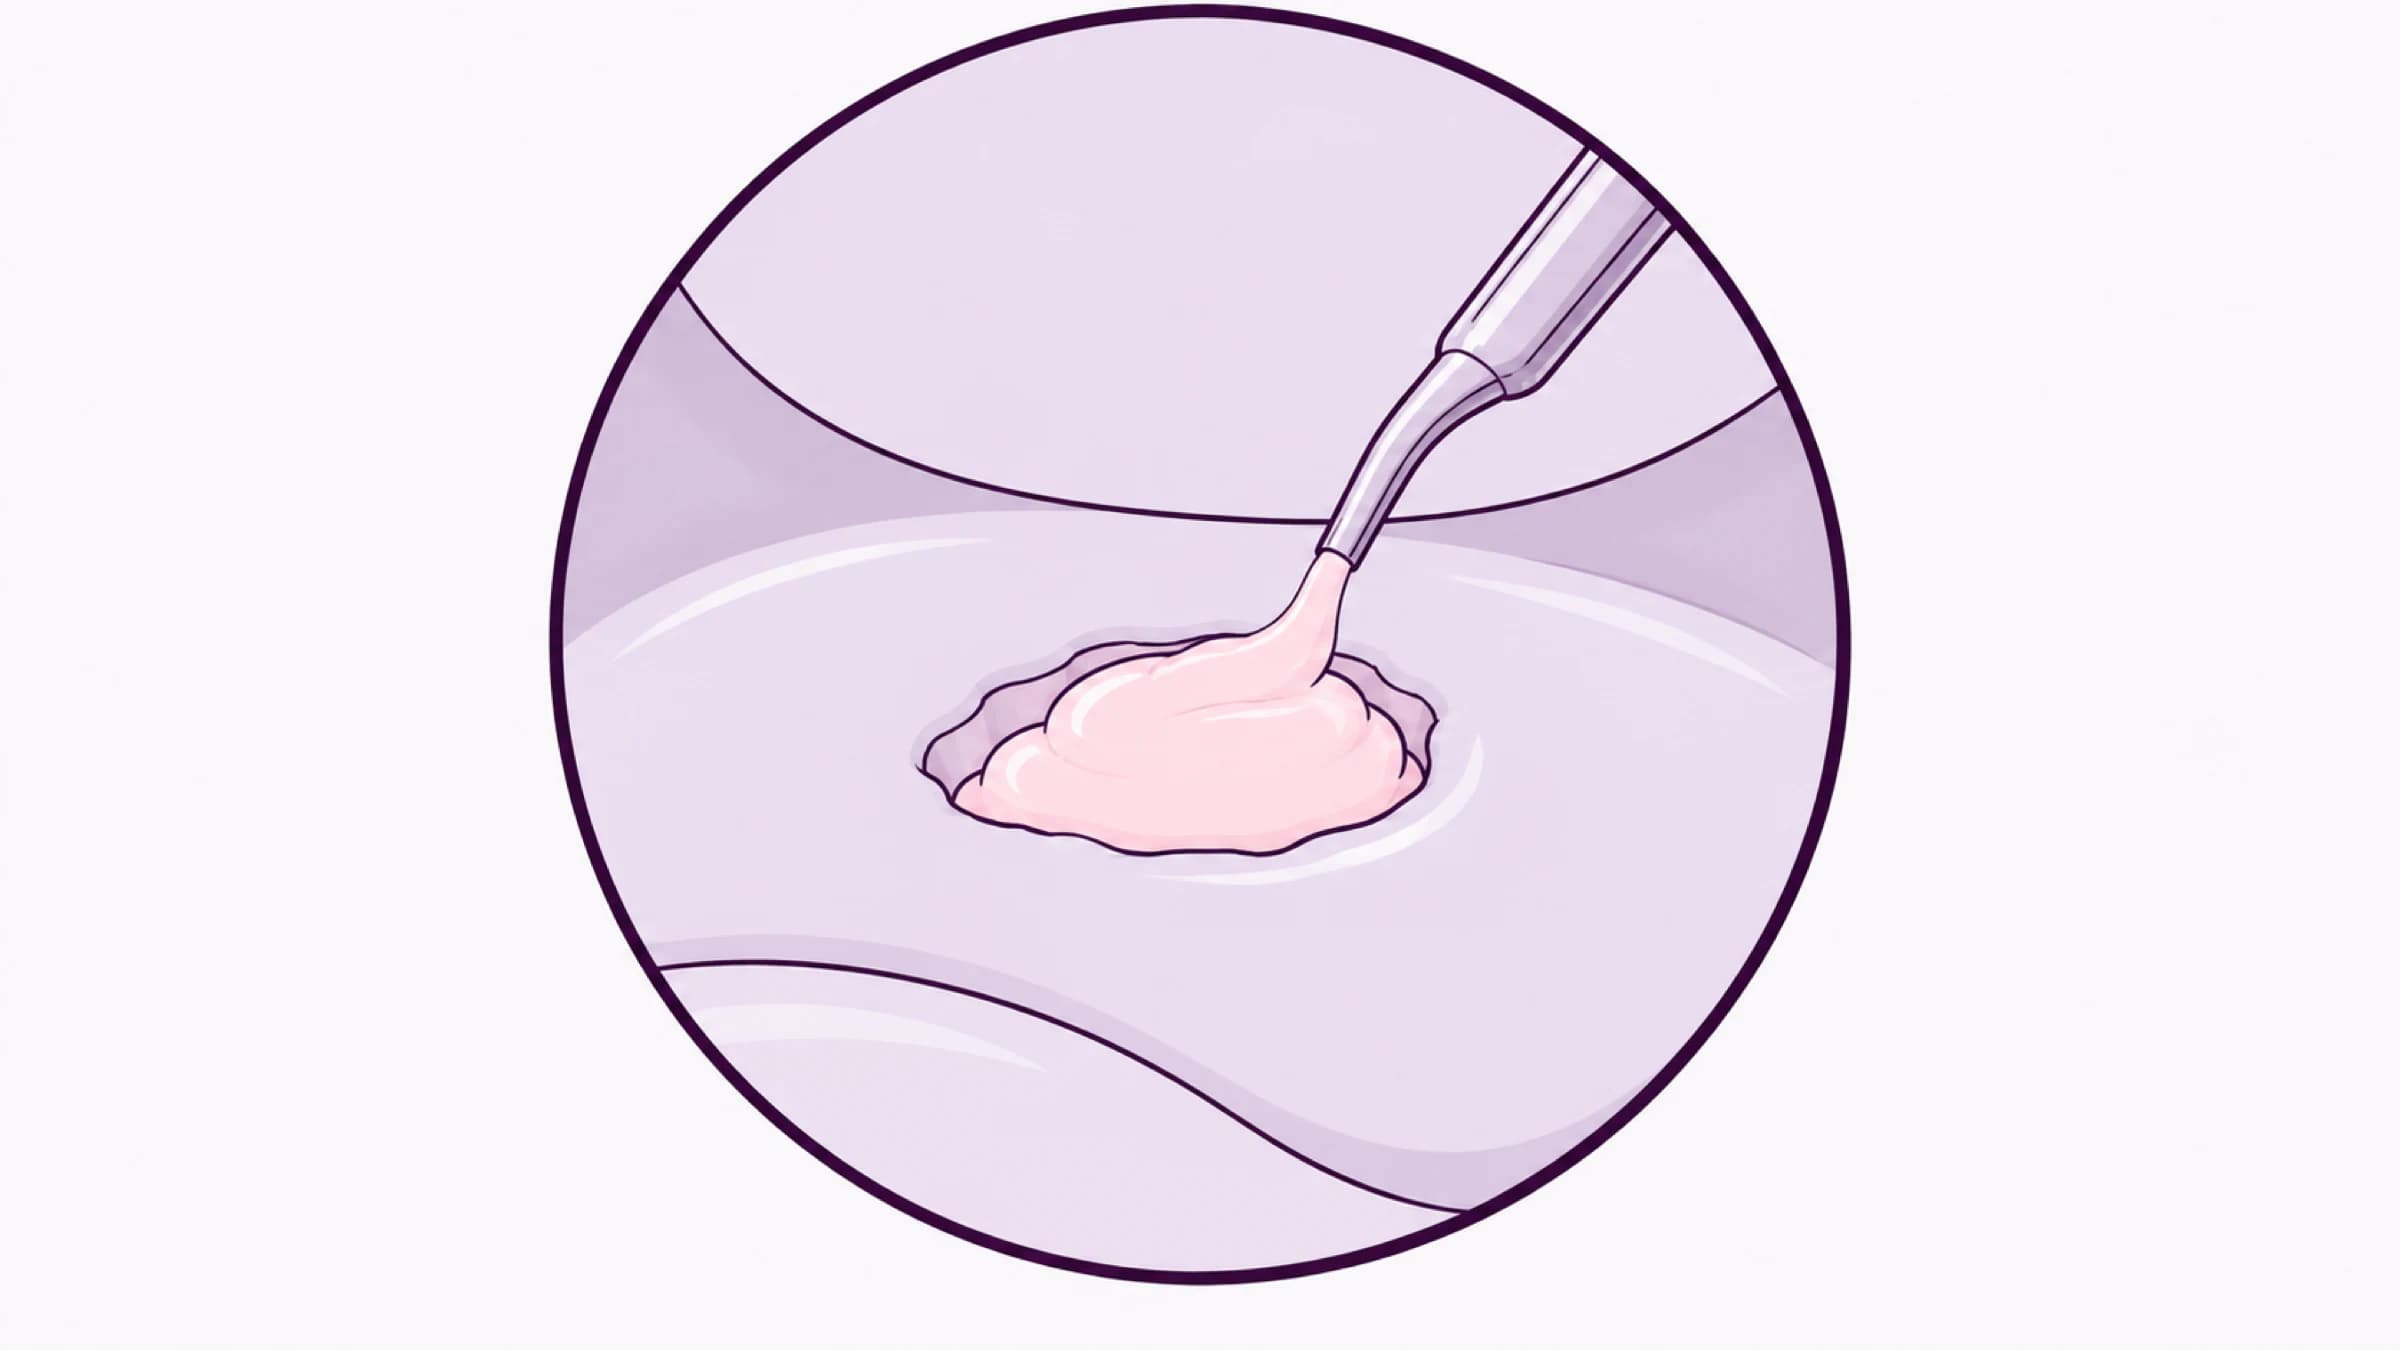
The defect is filled in a single rapid, uninterrupted emptying of the syringe, in under 20 seconds.1
- The two components react on contact, so the guide advises against filling layer by layer.
- The defect is filled completely and minimally above the height of the surrounding cartilage.
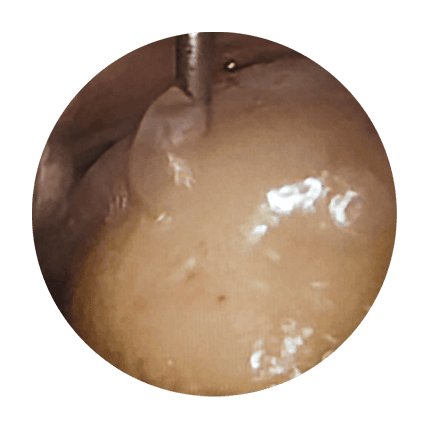
Matrix applied into the prepared defect, arthroscopic view Step 08
Let the matrix stabilise
At 30 to 33 °C the matrix stabilises in about 3 to 5 minutes; the gel visibly turns from transparent to milky white.1
- Below the processing temperature the time can extend considerably (more than 10 minutes at 25 to 30 °C). The limb is kept still throughout: vibration inhibits stabilisation.
- The implant height can be adjusted manually or by the pressure of the corresponding articular surface.
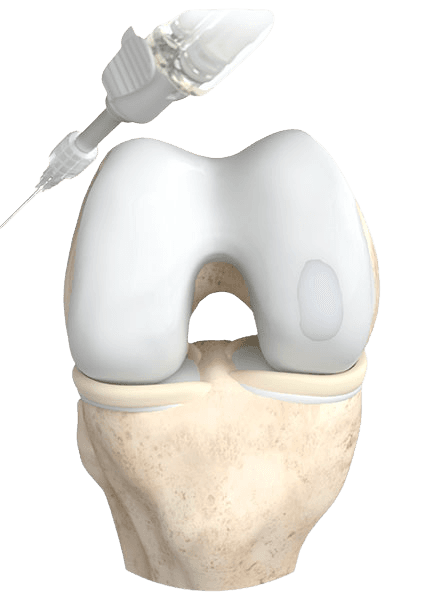
The gel turns from transparent to milky white as it stabilises Step 09
Close and immobilise
The limb is moved carefully to the extended position, the portals are closed and the joint is immobilised for 48 hours.1,4
- A drain is usually not needed. Re-inspecting the fill is discouraged because bleeding into the joint obscures the view and renewed swelling risks detaching the implant.
- After bandaging, the joint is held in an orthosis in the neutral position for 48 hours.
Under direct vision
Filled level with the surrounding cartilage.
The defect is filled completely and minimally above the height of the surrounding cartilage in a single pass, then left undisturbed while the gel stabilises. The height can be adjusted manually or by the pressure of the opposing articular surface.1
Pack size and defect area
Three volumes, matched to the defect.
The manufacturer’s overview brochure pairs each volume with a defect area.5
| Volume | Defect area | Order number |
|---|---|---|
| 1.0 ml | up to 1.5 cm² | HCFL-10 |
| 1.5 ml | up to 2.0 cm² | HCFL-15 |
| 2.3 ml | up to 3.0 cm² | HCFL-23 |
References
- 1.Meidrix Biomedicals GmbH. ChondroFiller® liquid surgical technique. Manufacturer publication, 2022. View source
- 2.Perez-Carro L, Mendoza Alejo PR, Gutierrez Castanedo G, Menendez Solana G, Fernandez Divar JA, Galindo Rubin P, Alfonso Fernandez A. Hip Chondral Defects: Arthroscopic Treatment With the Needle and Curette Technique and ChondroFiller. Arthroscopy Techniques, 10(7):e1669-e1675, 2021. View DOI
- 3.Schneider U. Controlled, randomized multicenter study to compare compatibility and safety of ChondroFiller liquid (cell free 2-component collagen gel) with microfracturing of patients with focal cartilage defects of the knee joint. Video Journal of Orthopedics Surgery, 1:1-8, 2016. View DOI
- 4.Meidrix Biomedicals GmbH. ChondroFiller® liquid patient education leaflet. Manufacturer publication, 2022. View source
- 5.Meidrix Biomedicals GmbH. ChondroFiller® liquid overview brochure. Manufacturer publication, 2024. View source
- 6.Meidrix Biomedicals GmbH. ChondroFiller® liquid instructions for use. Meidrix Biomedicals GmbH, 2026. View source
After the case: rehabilitation, or arrange training.
The manufacturer’s phased rehabilitation tables by defect site, or first-case support from Actomed.